7 Powerful Windows Malware Forensics Wins: Memory+KAPE
Antivirus says “clean,” but the laptop still behaves like it’s compromised: random CPU spikes, browser sessions logging out, unknown logins, suspicious outbound connections, or “ghost” admin changes. In these cases, Windows malware forensics matters because the evidence you need often isn’t on disk—or it’s intentionally disguised to look normal.
This post explains how Windows malware forensics using memory + KAPE (a fast artifact collection method) can reveal what traditional AV and basic scans miss—without exposing any client-specific details. You’ll also get practical, copy/paste scripts to run real-time triage, build a defensible timeline, and extract actionable IOCs.

If you need expert DFIR support for a suspected compromise, see:
- Forensic Analysis Services (DFIR): https://www.pentesttesting.com/digital-forensic-analysis-services/
- Remediation Services: https://www.pentesttesting.com/remediation-services/
- Risk Assessment Services: https://www.pentesttesting.com/risk-assessment-services/
When you need DFIR: symptoms vs proof
Symptoms are useful—but proof is what drives containment, recovery, insurance/audit needs, and confident decisions.
Common “DFIR now” indicators (Windows endpoints):
- Suspicious processes that vanish quickly
- Defender/AV disabled or exclusions added unexpectedly
- Unrecognized scheduled tasks, services, or WMI subscriptions
- Browser or email account sessions hijacked repeatedly
- New local admins or RDP/remote tool installs you didn’t authorize
- Outbound connections to unusual hosts at odd times
- “Fileless” behavior: nothing obvious on disk, but the device acts infected
Windows malware forensics bridges the gap between what you feel is happening and what you can prove happened.
What we collect (high-level): memory capture + KAPE + key logs
A practical Windows DFIR starter set:
- Memory capture (RAM snapshot)
- KAPE triage (Windows artifacts + logs for timeline and execution proof)
- Event logs + system context (users, services, tasks, networking)
Why this combo works:
- Memory forensics can reveal injected code, in-memory payloads, decrypted strings, tokens, and stealthy persistence clues.
- KAPE pulls high-signal artifacts quickly—prefetch, registry hives, event logs, link files, browser artifacts, and more—so you can reconstruct who did what, and when.
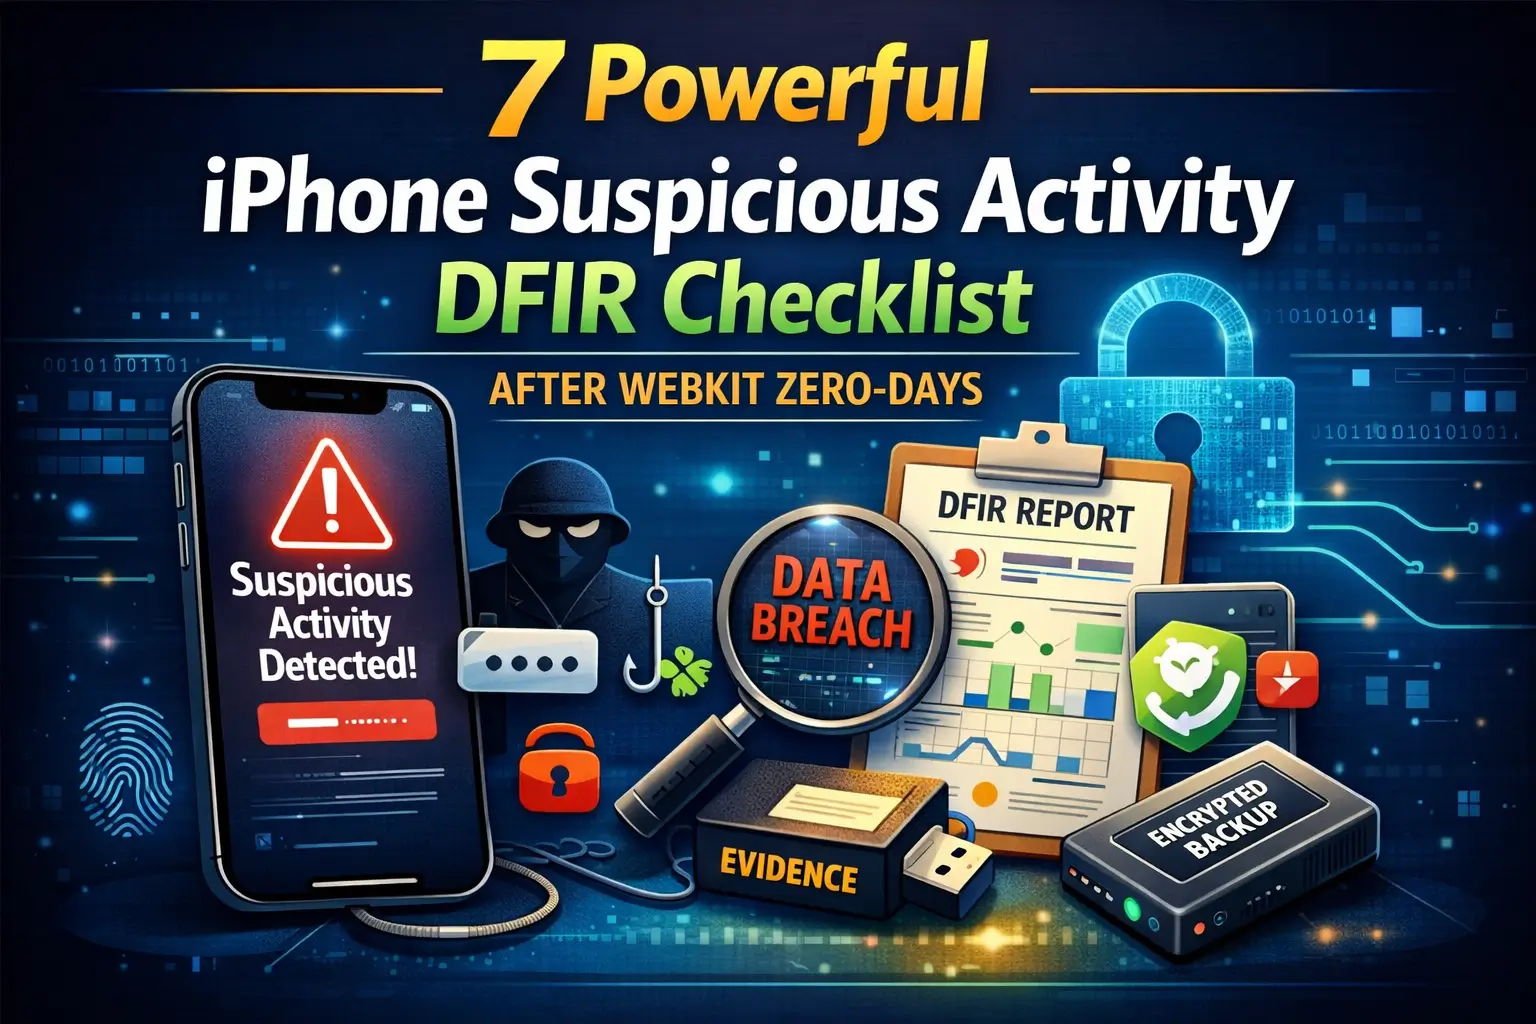
New DFIR Resource: Seeing iPhone suspicious activity after recent iOS/WebKit updates? Don’t factory reset yet. Follow our 7-step iPhone suspicious activity DFIR checklist to preserve evidence, triage fast, and contain risk.
https://www.pentesttesting.com/iphone-suspicious-activity-dfir-checklist/
Win #1: Memory shows injected code that AV never “sees”
Modern malware often:
- Injects into legitimate processes (e.g.,
explorer.exe,svchost.exe, browsers) - Runs in memory only (or drops minimal “loader” artifacts)
- Uses encryption/packing so disk scanners see little
Memory capture integrity (hashing matters)
After acquisition, hash your memory image so your results are defensible:
# Hash a memory image (example path)
$Mem = "D:\Evidence\mem.raw"
Get-FileHash $Mem -Algorithm SHA256 | Format-List
Memory triage with Volatility 3 (example workflow)
Run on an analysis workstation (not on the suspect box).
# Example (Volatility 3)
python vol.py -f mem.raw windows.info
python vol.py -f mem.raw windows.pslist
python vol.py -f mem.raw windows.pstree
python vol.py -f mem.raw windows.cmdline
python vol.py -f mem.raw windows.netscan
What you’re hunting for (high-signal):
- Odd parent/child chains (Office → PowerShell → rundll32, etc.)
- Unsigned binaries in user-writable paths
- Suspicious command lines (encoded PowerShell, LOLBins, hidden windows)
Win #2: Memory reveals stolen credentials and auth tokens
Many real compromises escalate because attackers steal:
- Browser session tokens
- Cached credentials
- Kerberos tickets / LSASS-resident secrets (varies by OS hardening)
Windows memory forensics can highlight credential access attempts even when no obvious malware file remains.
Quick check: suspicious processes around auth components
python vol.py -f mem.raw windows.pslist | grep -i "lsass\|winlogon\|rundll32\|powershell"
python vol.py -f mem.raw windows.cmdline | grep -i "enc\|encoded\|iex\|downloadstring\|bypass"
Important: credential-focused analysis should be handled carefully and lawfully. If you need a clean, professional process, engage DFIR: https://www.pentesttesting.com/digital-forensic-analysis-services/
Win #3: Memory finds stealth persistence hints (even if disk looks normal)
Attackers love persistence that blends in:
- Scheduled tasks
- Services
- Registry Run keys
- WMI subscriptions
- Startup folders
Memory can expose suspicious modules loaded into processes, hidden threads, and indicators that point you to where persistence is anchored on disk/registry.
Example: spot suspicious DLL load patterns (triage idea)
python vol.py -f mem.raw windows.dlllist --pid <PID>
python vol.py -f mem.raw windows.handles --pid <PID> | head
Win #4: KAPE gives you the execution timeline AV won’t reconstruct
KAPE helps answer:
- When did the malware first execute?
- What user action likely triggered it?
- What else ran immediately after?
- Which persistence mechanism was created first?
KAPE example: fast triage collection (conceptual)
# Example pattern (paths vary by your KAPE setup)
# Target: triage artifacts, Module: timeline/enrichment
.\kape.exe --tsource C: --tdest D:\Evidence\KAPE --target !SANS_Triage --vhdx --zip
Export core Windows event logs (fast, high-value)
$Out = "D:\Evidence\evtx"
New-Item -ItemType Directory -Force -Path $Out | Out-Null

wevtutil epl Security "$Out\Security.evtx"
wevtutil epl System "$Out\System.evtx"
wevtutil epl Application "$Out\Application.evtx"
wevtutil epl "Microsoft-Windows-PowerShell/Operational" "$Out\PowerShell-Operational.evtx"
Capture persistence points (minimal but effective)
$Out = "D:\Evidence\triage"
New-Item -ItemType Directory -Force -Path $Out | Out-Null

schtasks /Query /V /FO CSV > "$Out\scheduled_tasks.csv"
Get-CimInstance Win32_Service |
  Select Name,State,StartMode,PathName |
  Export-Csv "$Out\services.csv" -NoTypeInformation

reg query "HKLM\Software\Microsoft\Windows\CurrentVersion\Run" /s > "$Out\run_hklm.txt"
reg query "HKCU\Software\Microsoft\Windows\CurrentVersion\Run" /s > "$Out\run_hkcu.txt"
Win #5: KAPE artifacts show user actions and “how it started”
In Windows malware forensics, initial execution proof often comes from:
- Prefetch (program execution evidence)
- Link files (
.lnk) - Jump Lists
- Browser download history
- Amcache / Shimcache
- Recent files & shellbags (context)
Practical: list recently modified executables in common drop paths
$paths = @("$env:USERPROFILE\Downloads", "$env:USERPROFILE\AppData\Local", "$env:USERPROFILE\AppData\Roaming")
Get-ChildItem $paths -Recurse -File -ErrorAction SilentlyContinue |
  Where-Object { $_.Extension -in ".exe",".dll",".ps1",".js",".vbs",".bat",".lnk" } |
  Sort-Object LastWriteTime -Descending |
  Select-Object FullName, Length, LastWriteTime |
  Export-Csv "D:\Evidence\triage\recent_suspicious_files.csv" -NoTypeInformation
Win #6: Build a single, sortable timeline (minutes—not days)
Once you have:
- Memory findings (processes, network connections)
- EVTX exports
- KAPE artifacts
…you can unify timestamps into one “case timeline” CSV.
Simple Python: merge multiple CSVs into a timeline
# merge_timeline.py
import pandas as pd
from pathlib import Path

inputs = [
    ("processes", "processes.csv", "StartTime"),
    ("net", "net_connections.csv", None),
    ("tasks", "scheduled_tasks.csv", None),
]

rows = []
base = Path(r"D:\Evidence\triage")

for source, fname, time_col in inputs:
    p = base / fname
    if not p.exists():
        continue
    df = pd.read_csv(p, low_memory=False)
    df["source"] = source
    if time_col and time_col in df.columns:
        df["timestamp"] = pd.to_datetime(df[time_col], errors="coerce")
    else:
        df["timestamp"] = pd.NaT
    rows.append(df)

out = pd.concat(rows, ignore_index=True) if rows else pd.DataFrame()
out = out.sort_values(by=["timestamp", "source"], na_position="last")
out.to_csv(base / "case_timeline_merged.csv", index=False)
print("Wrote case_timeline_merged.csv")
Run:
python merge_timeline.pyThis is the backbone of “what happened when”—a core goal of Windows malware forensics.
Win #7: Turn artifacts into real IOCs you can action today
The end result shouldn’t be “interesting findings.” It should be:
- IOCs you can block/detect across the fleet
- Containment steps that stop re-entry
- A remediation plan that closes root cause
Extract likely network IOCs from active connections
Import-Csv "D:\Evidence\triage\net_connections.csv" |
  Where-Object { $_.RemoteAddress -and $_.RemoteAddress -notmatch "^(0\.0\.0\.0|127\.0\.0\.1|::1)$" } |
  Select-Object RemoteAddress, RemotePort -Unique |
  Export-Csv "D:\Evidence\triage\ioc_remote_endpoints.csv" -NoTypeInformation
Hash suspicious binaries for IOC sharing
Import-Csv "D:\Evidence\triage\recent_suspicious_files.csv" |
  ForEach-Object {
    if (Test-Path $_.FullName) {
      $h = Get-FileHash $_.FullName -Algorithm SHA256
      [PSCustomObject]@{ Path=$_.FullName; SHA256=$h.Hash }
    }
  } | Export-Csv "D:\Evidence\triage\ioc_file_hashes.csv" -NoTypeInformation
Containment (safe baseline): isolate host + preserve evidence
# Option A: Disable network adapters (local containment)
Get-NetAdapter | Where-Object Status -eq "Up" | Disable-NetAdapter -Confirm:$false

# Option B: Enable Windows firewall (if it's off)
Set-NetFirewallProfile -Profile Domain,Public,Private -Enabled True
For guided containment + recovery planning, see:
https://www.pentesttesting.com/remediation-services/
What you get from a professional Windows malware forensics engagement
A high-quality DFIR outcome is typically packaged as:
- Incident timeline (endpoint + identity + network correlation)
- Malware/persistence analysis (what it is, how it ran, how it stays)
- IOC bundle (hashes, domains, IPs, file paths, registry keys, tasks, services)
- Containment plan (stop the bleeding safely)
- Remediation roadmap (patching, hardening, logging, least privilege)
- Executive summary (client-ready, non-technical, audit-friendly)
Start here: https://www.pentesttesting.com/digital-forensic-analysis-services/
Free Website Vulnerability Scanner tool page (scan interface)

Link to tool: https://free.pentesttesting.com/
Sample report to check Website Vulnerability (from the free tool)

Related services
- DFIR / device compromise investigations: https://www.pentesttesting.com/digital-forensic-analysis-services/
- Fix what the investigation finds: https://www.pentesttesting.com/remediation-services/
- Reduce future incident probability: https://www.pentesttesting.com/risk-assessment-services/
Related reading (recent posts from our blog)
- https://www.pentesttesting.com/digital-forensics-am-i-hacked-dfir-triage/
- https://www.pentesttesting.com/january-2026-patch-tuesday-smb-patch-first/
- https://www.pentesttesting.com/kev-driven-vulnerability-management-sprint/
- https://www.pentesttesting.com/free-vulnerability-scanner-not-enough/
- https://www.pentesttesting.com/sonicwall-sma1000-zero-day-48-hour-plan/
- https://www.pentesttesting.com/webkit-zero-day-48-hour-patch-playbook/
🔐 Frequently Asked Questions (FAQs)
Find answers to commonly asked questions about Windows Malware Forensics Wins: Memory + KAPE.