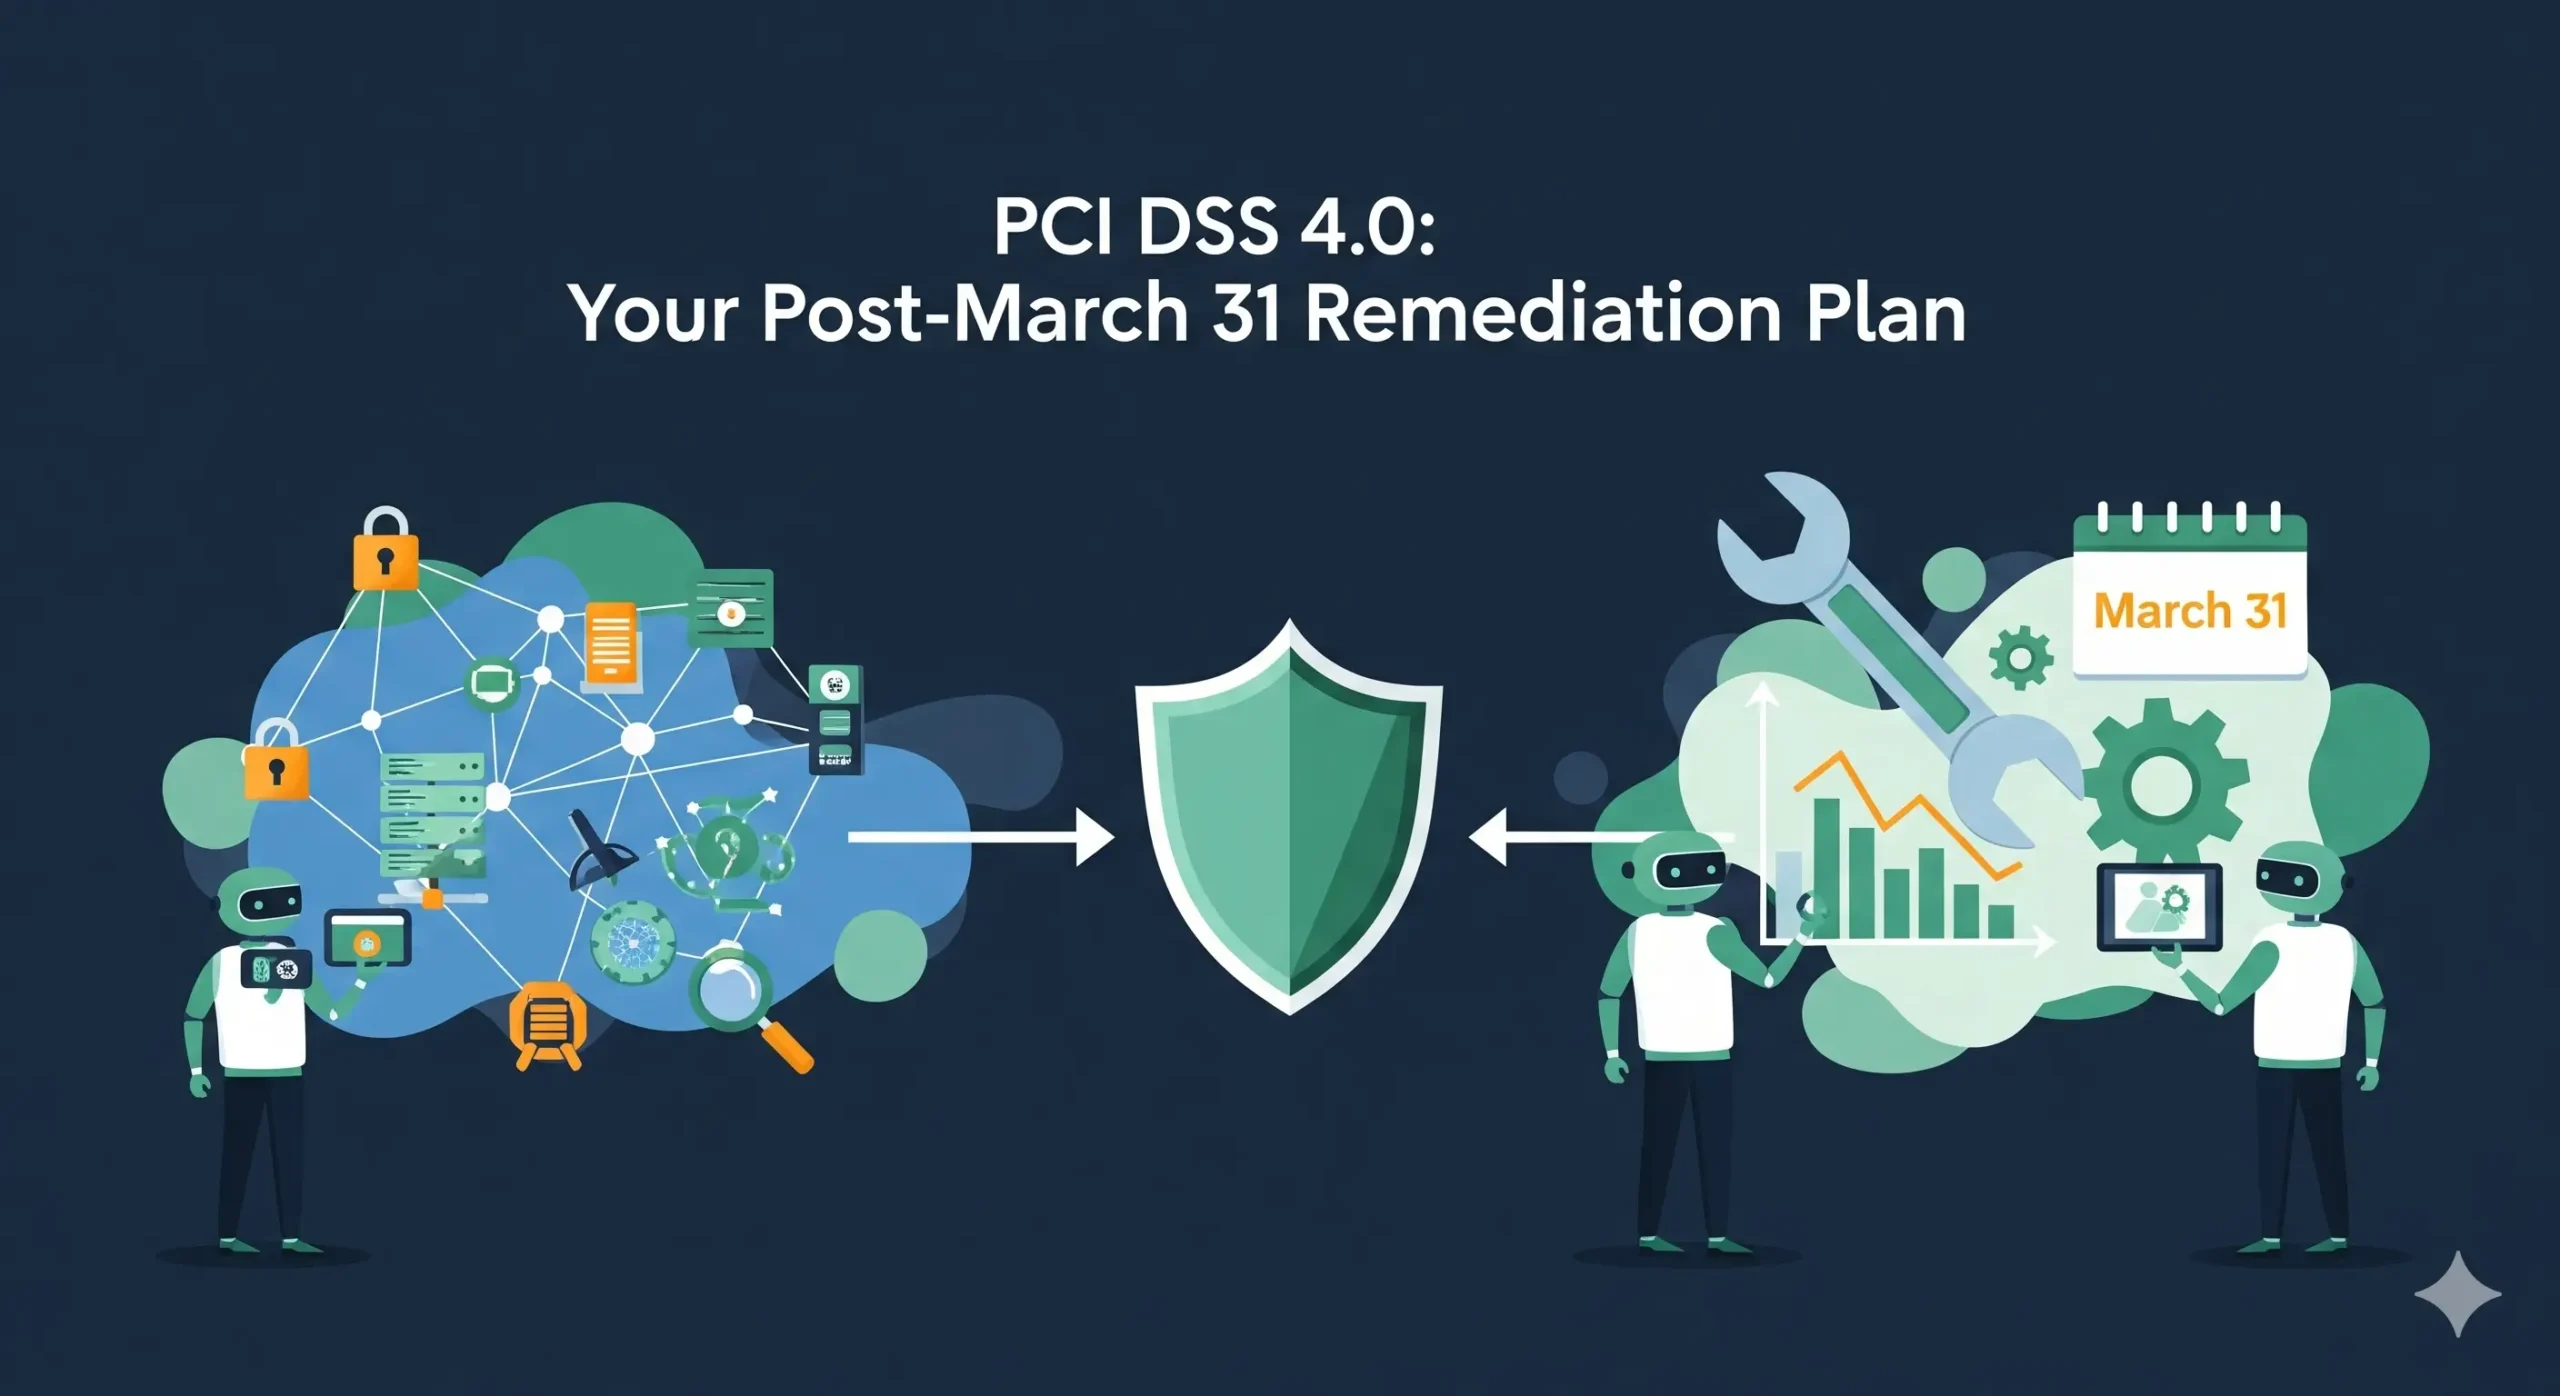
5 Proven Steps for a Risk Register Remediation Plan
When your latest HIPAA, PCI DSS, SOC 2, ISO 27001, or GDPR review lands, it usually arrives as a spreadsheet risk register or a list of “gaps.”
But auditors don’t sign off on spreadsheets — they sign off on remediated controls with evidence.
This guide shows CISOs, Heads of Security, and Compliance/Risk leaders how to turn that static risk register into a living remediation board (Jira/Asana-style) and a 90-day fix plan that works across multiple frameworks.
We’ll cover:
- Baseline your risk assessment
- Prioritize by regulatory impact
- Build a remediation board in Jira/Asana
- Run sprint-based remediation
- Close with a pre-audit evidence review
We’ll also show code-like examples (YAML/JSON, Python, and JQL) you can adapt directly in your environment.

For a concrete example of how we handle real-world vulnerabilities end to end, check out our detailed write-up on CVE-2025-13526: A High-Risk WordPress IDOR here: https://www.pentesttesting.com/cve-2025-13526-a-high-risk-wordpress-idor/
Risk Register vs Remediation Board (and Why It Matters)
Risk register (what you have today):
- Rows in Excel/Sheets
- Columns like Risk ID, Description, Likelihood, Impact, Framework, Status
- Good for recording risks, bad for driving work
Remediation board (what you need in 90 days):
- Tickets in Jira/Asana
- Each ticket has owner, due date, SLA, framework tags (HIPAA/PCI/SOC 2/ISO/GDPR)
- Visual workflow: Backlog → In Progress → Blocked → Ready for Audit → Done
- Audit-ready: every closed ticket has evidence attached
A simple JSON representation of a remediation item that you’ll map from the risk register:
{
  "risk_id": "R-102",
  "title": "Enforce MFA for remote admin access",
  "description": "Remote admin access is allowed without enforced MFA.",
  "owner": "secops_lead",
  "due_date": "2025-02-15",
  "status": "In Progress",
  "frameworks": ["HIPAA", "PCI DSS", "SOC 2", "ISO 27001", "GDPR"],
  "control_refs": ["Access Control", "Identity & Authentication"],
  "likelihood": 4,
  "impact": 5,
  "risk_score": 20,
  "evidence": [
    "vpn_mfa_config_screenshot.png",
    "okta_policy_export.pdf",
    "pentest_retest_report.pdf"
  ]
}
We’ll now walk through a practical 90-day sequence to create a risk register remediation plan that auditors will actually trust.
Step 1 (Days 0–15): Baseline Your Risk Assessment
If you don’t already have a current risk register, start with a formal risk assessment.
A structured assessment gives you:
- A consistent scoring methodology
- Clear mapping to HIPAA, PCI DSS, SOC 2, ISO 27001, GDPR
- A prioritized list of “what can actually break us”
If you’re short on time or internal capacity, kick off a focused engagement using:
👉 Risk Assessment Services
Normalize your risk register
Most organizations have risk data scattered across pentest reports, scanner exports, and old audits. Normalize it into a simple schema:
# risk-register.yml
- id: R-001
  asset: "Patient Portal"
  description: "Outdated TLS configuration allows weak ciphers."
  likelihood: 3         # 1–5
  impact: 4             # 1–5
  frameworks:
    - HIPAA
    - SOC 2
    - ISO 27001
  status: "Open"
  owner: "appsec_team"
  category: "Crypto"
  notes: "Flagged in last external pentest and scanner"
If your source of truth is Excel/Sheets, you can convert it with a small Python helper:
import csv, yaml

def csv_to_risk_yaml(csv_path, yaml_path):
    risks = []
    with open(csv_path, newline="") as f:
        reader = csv.DictReader(f)
        for row in reader:
            risks.append({
                "id": row["Risk ID"],
                "asset": row["Asset/System"],
                "description": row["Risk Description"],
                "likelihood": int(row["Likelihood"]),
                "impact": int(row["Impact"]),
                "frameworks": [f.strip() for f in row["Frameworks"].split(",")],
                "status": row.get("Status", "Open"),
                "owner": row.get("Owner", "unassigned"),
                "category": row.get("Category", "General")
            })
    with open(yaml_path, "w") as f:
        yaml.dump(risks, f)

csv_to_risk_yaml("risk_register.csv", "risk-register.yml")
By the end of Week 2, you want:
- One consolidated risk register file
- Each risk mapped to one or more frameworks (HIPAA/PCI/SOC 2/ISO/GDPR)
- A consistent scoring model (see next step)
Step 2 (Days 10–25): Prioritize by Regulatory Impact
Not all risks are equal. A missing security header on a marketing site is not the same as unencrypted cardholder data.
Use a simple risk score
You don’t need a complex formula; keep it honest and consistent:
def risk_score(likelihood, impact, regulator_weight=1.0):
    # Likelihood & impact 1–5, regulator_weight 1.0–1.5
    return likelihood * impact * regulator_weight

# Example: PCI DSS gap in cardholder data environment (CDE)
score_pci = risk_score(likelihood=4, impact=5, regulator_weight=1.4)  # 28.0
# Example: Minor ISO-only documentation gap
score_iso = risk_score(likelihood=2, impact=2, regulator_weight=1.0)  # 4.0
You can set a higher regulator_weight for:
- PCI DSS in cardholder environments
- HIPAA for PHI systems
- GDPR for EU personal data
- SOC 2 for in-scope customer-facing SaaS
Auto-tag frameworks based on control keywords
If your initial register doesn’t have framework tags, you can infer them:
def infer_frameworks(description):
    description = description.lower()
    frameworks = set()
    if "card" in description or "pan" in description or "cde" in description:
        frameworks.add("PCI DSS")
    if "phi" in description or "patient" in description:
        frameworks.add("HIPAA")
    if "customer data" in description or "subprocessor" in description:
        frameworks.add("SOC 2")
    if "pii" in description or "eu data" in description:
        frameworks.add("GDPR")
    # Default baseline: ISO 27001 for general ISMS
    frameworks.add("ISO 27001")
    return list(frameworks)
Run this once over your normalized YAML/CSV and manually review edge cases.
By Day 25, you should have:
- Every risk scored (e.g., 1–25 scale)
- Each risk tagged with one or more frameworks
- A shortlist of “Fix in 90 days” items (usually the top 30–50)
Step 3 (Days 20–35): Build the Remediation Board
Now we convert the prioritized risk register into a remediation board in Jira, Asana, or your chosen work-tracking tool.
Map risk rows to Jira tickets
Example: minimal JSON payload to create a Jira issue from a risk row:
{
  "fields": {
    "project": { "key": "SEC" },
    "summary": "[R-102] Enforce MFA for remote admin access",
    "description": "Risk ID: R-102\nFrameworks: HIPAA, PCI DSS, SOC 2, ISO 27001, GDPR\n\nDetails:\nRemote admin access is allowed without MFA.\n\nAcceptance criteria:\n- MFA enforced for all remote admin accounts\n- Config exported and attached\n- Retest screenshot/report attached.",
    "issuetype": { "name": "Task" },
    "assignee": { "name": "secops_lead" },
    "labels": ["risk-register", "remediation", "HIPAA", "PCI_DSS", "SOC2", "ISO27001", "GDPR"],
    "duedate": "2025-02-15",
    "customfield_risk_score": 20
  }
}
A simple Python script to bulk-create issues from risk-register.yml:
import requests, yaml

JIRA_BASE_URL = "https://jira.example.com"
JIRA_USER = "api-user"
JIRA_TOKEN = "api-token"
PROJECT_KEY = "SEC"

def create_jira_issue(risk):
    payload = {
        "fields": {
            "project": {"key": PROJECT_KEY},
            "summary": f"[{risk['id']}] {risk['description'][:60]}",
            "description": f"Risk ID: {risk['id']}\nFrameworks: {', '.join(risk['frameworks'])}\n\n{risk['description']}",
            "issuetype": {"name": "Task"},
            "labels": ["risk-register", "remediation"] + risk["frameworks"],
            "duedate": "2025-02-15"
        }
    }
    resp = requests.post(
        f"{JIRA_BASE_URL}/rest/api/2/issue",
        json=payload,
        auth=(JIRA_USER, JIRA_TOKEN)
    )
    resp.raise_for_status()

with open("risk-register.yml") as f:
    risks = yaml.safe_load(f)

for risk in risks:
    if risk["status"] == "Open":
        create_jira_issue(risk)
Tip: If your board supports custom fields, add “Frameworks,” “Risk Score,” and “Target Audit” for fast filtering.
Example board columns (Jira or Asana)
- Backlog – Not yet scheduled
- Sprint 1–2 (High risk) – Top PCI/HIPAA/GDPR issues
- Sprint 3–4 (Medium risk) – SOC 2 and ISO-heavy items
- Blocked / Exceptions – Waiting on budget, vendor, or design
- Ready for Audit – Implemented + evidence attached
- Done (Verified) – Auditor- or third-party-verified items
Now your risk register remediation plan is visible to everyone, not buried in a spreadsheet.
Step 4 (Days 30–85): Run Sprint-Based Remediation
Work in 2–3 week sprints. Each sprint should include:
- A mix of quick wins and big rocks
- Coverage across frameworks
- Clear owner and capacity plan
Example sprint planning pseudo-code
def plan_sprint(open_risks, max_items=15):
    # Prefer high-impact, multi-framework items
    scored = sorted(
        open_risks,
        key=lambda r: (r["likelihood"] * r["impact"], len(r["frameworks"])),
        reverse=True
    )
    return scored[:max_items]

sprint_backlog = plan_sprint([r for r in risks if r["status"] == "Open"])
Track KPIs directly from Jira
Useful JQL queries for dashboards:
-- All open remediation tasks from risk register
project = SEC AND labels = risk-register AND statusCategory != Done

-- PCI DSS high-risk items not done
project = SEC AND labels = PCI_DSS AND "Risk Score" >= 16 AND statusCategory != Done

-- Items Ready for Audit in the next 2 weeks
project = SEC AND status = "Ready for Audit"
AND duedate <= endOfDay("+14d")
Run these queries weekly and share the dashboard with Security, Compliance, and Engineering.
Step 5 (Days 75–90): Pre-Audit Evidence Review
By Day 75, your goal is:
- Most high/critical items in Ready for Audit / Done
- Remaining items in Blocked / Exceptions with documented rationale
For each ticket, you should have machine-readable evidence:
{
  "ticket": "SEC-123",
  "risk_id": "R-102",
  "frameworks": ["HIPAA", "PCI DSS", "SOC 2", "ISO 27001", "GDPR"],
  "evidence_items": [
    {
      "type": "configuration",
      "name": "vpn_mfa_config_screenshot.png",
      "stored_at": "s3://audit-evidence/access/vpn_mfa_config_screenshot.png"
    },
    {
      "type": "policy",
      "name": "access_control_policy_v3.pdf",
      "stored_at": "s3://audit-evidence/policies/access_control_policy_v3.pdf"
    },
    {
      "type": "retest_report",
      "name": "pentest_retest_report.pdf",
      "stored_at": "s3://audit-evidence/reports/pentest_retest_report.pdf"
    }
  ],
  "verified_by": "compliance_officer",
  "verified_on": "2025-03-01"
}
A quick script can validate evidence completeness before auditors arrive:
def missing_evidence(remediation_items):
    return [
        i for i in remediation_items
        if not i.get("evidence_items")
    ]

# Print items that still need proof
for item in missing_evidence(remediation_items):
    print(f"{item['ticket']} ({item['risk_id']}) has no evidence attached!")
Multi-Framework Examples: One Fix, Many Checkboxes
The real power of a unified risk register remediation plan is reusing one fix across frameworks.
Example 1: MFA for privileged access
A single remediation ticket:
- Enforce MFA on VPN and privileged accounts
- Logs retained for 12–24 months
Can support:
- HIPAA – access control & authentication safeguards
- PCI DSS – strong authentication for access to cardholder data
- SOC 2 – logical access security criteria
- ISO 27001 – access control and secure authentication
- GDPR – appropriate technical measures to protect personal data
Example 2: Hardened web application
A ticket like “Fix XSSI and related web vulnerabilities in OpenCart store” can map to:
- Fixes from your own blog post
“Prevent XSSI Attack in OpenCart”:
https://www.pentesttesting.com/prevent-xssi-attack-in-opencart/ - Follow-up tests with free website scanning + manual pentests
This single work item contributes to:
- PCI DSS – secure web application practices
- SOC 2 / ISO 27001 – secure software development & change management
- GDPR – protection of personal data processed via the app
Linking remediation tickets to specific internal blog playbooks makes developer handoff much easier.
Using Pentest Testing Corp’s Free Tool & Sample Reports
You don’t have to start from zero when gathering evidence for your remediation board.
On the screenshot of our free tools page, you can see a Free Website Vulnerability Scanner where you simply enter your domain and click “Scan.” The page highlights that you can run quick, outside-in security checks on your internet-facing assets and download a PDF report to attach directly to your remediation tickets.

Use it to:
- Seed your risk register with real, external-facing findings
- Generate before/after evidence as you close web app issues
- Provide simple, visual proof for auditors and business stakeholders
Sample Report to check Website Vulnerability
On the sample report screenshot, you’ll see findings grouped by severity (Critical/High/Medium/Low), each with: vulnerability name, affected URL or asset, impact summary, and step-by-step remediation guidance. There’s also an overall risk summary chart, which is perfect to attach to a Jira ticket or your 90-day remediation status deck.

Practical usage in your remediation plan:
- Attach the initial scan report to the ticket when you create it
- Attach the post-fix scan report after the control is implemented
- Keep both under the same ticket to show clear before/after evidence during audits
For deeper, manual verification of high-risk issues, hand the output to your team or engage us for Remediation Services focusing on hands-on fixes and retesting.
Where Pentest Testing Corp Fits in Your 90-Day Fix Plan
If you’d like help turning your own risk register into a 90-day, multi-framework remediation board, you can start with a focused risk assessment and remediation roadmap via:
- Start with a structured Risk Assessment to build or refresh your risk register
- Use our free scanning tools to generate quick, reproducible evidence
- Work with Remediation Services when you need additional engineering capacity or independent retesting
- Reuse patterns and fixes from recent blog content (like OpenCart XSSI and other secure coding guides) at
https://www.pentesttesting.com/blog/
Over time, your risk register remediation plan becomes a repeatable engine: assessment → prioritized remediation board → sprint execution → evidence review → audit.
These services are designed to plug directly into the workflows and code examples you’ve seen in this article.
🔐 Frequently Asked Questions (FAQs)
Find answers to commonly asked questions about the Risk Register Remediation Plan in 90 Days.